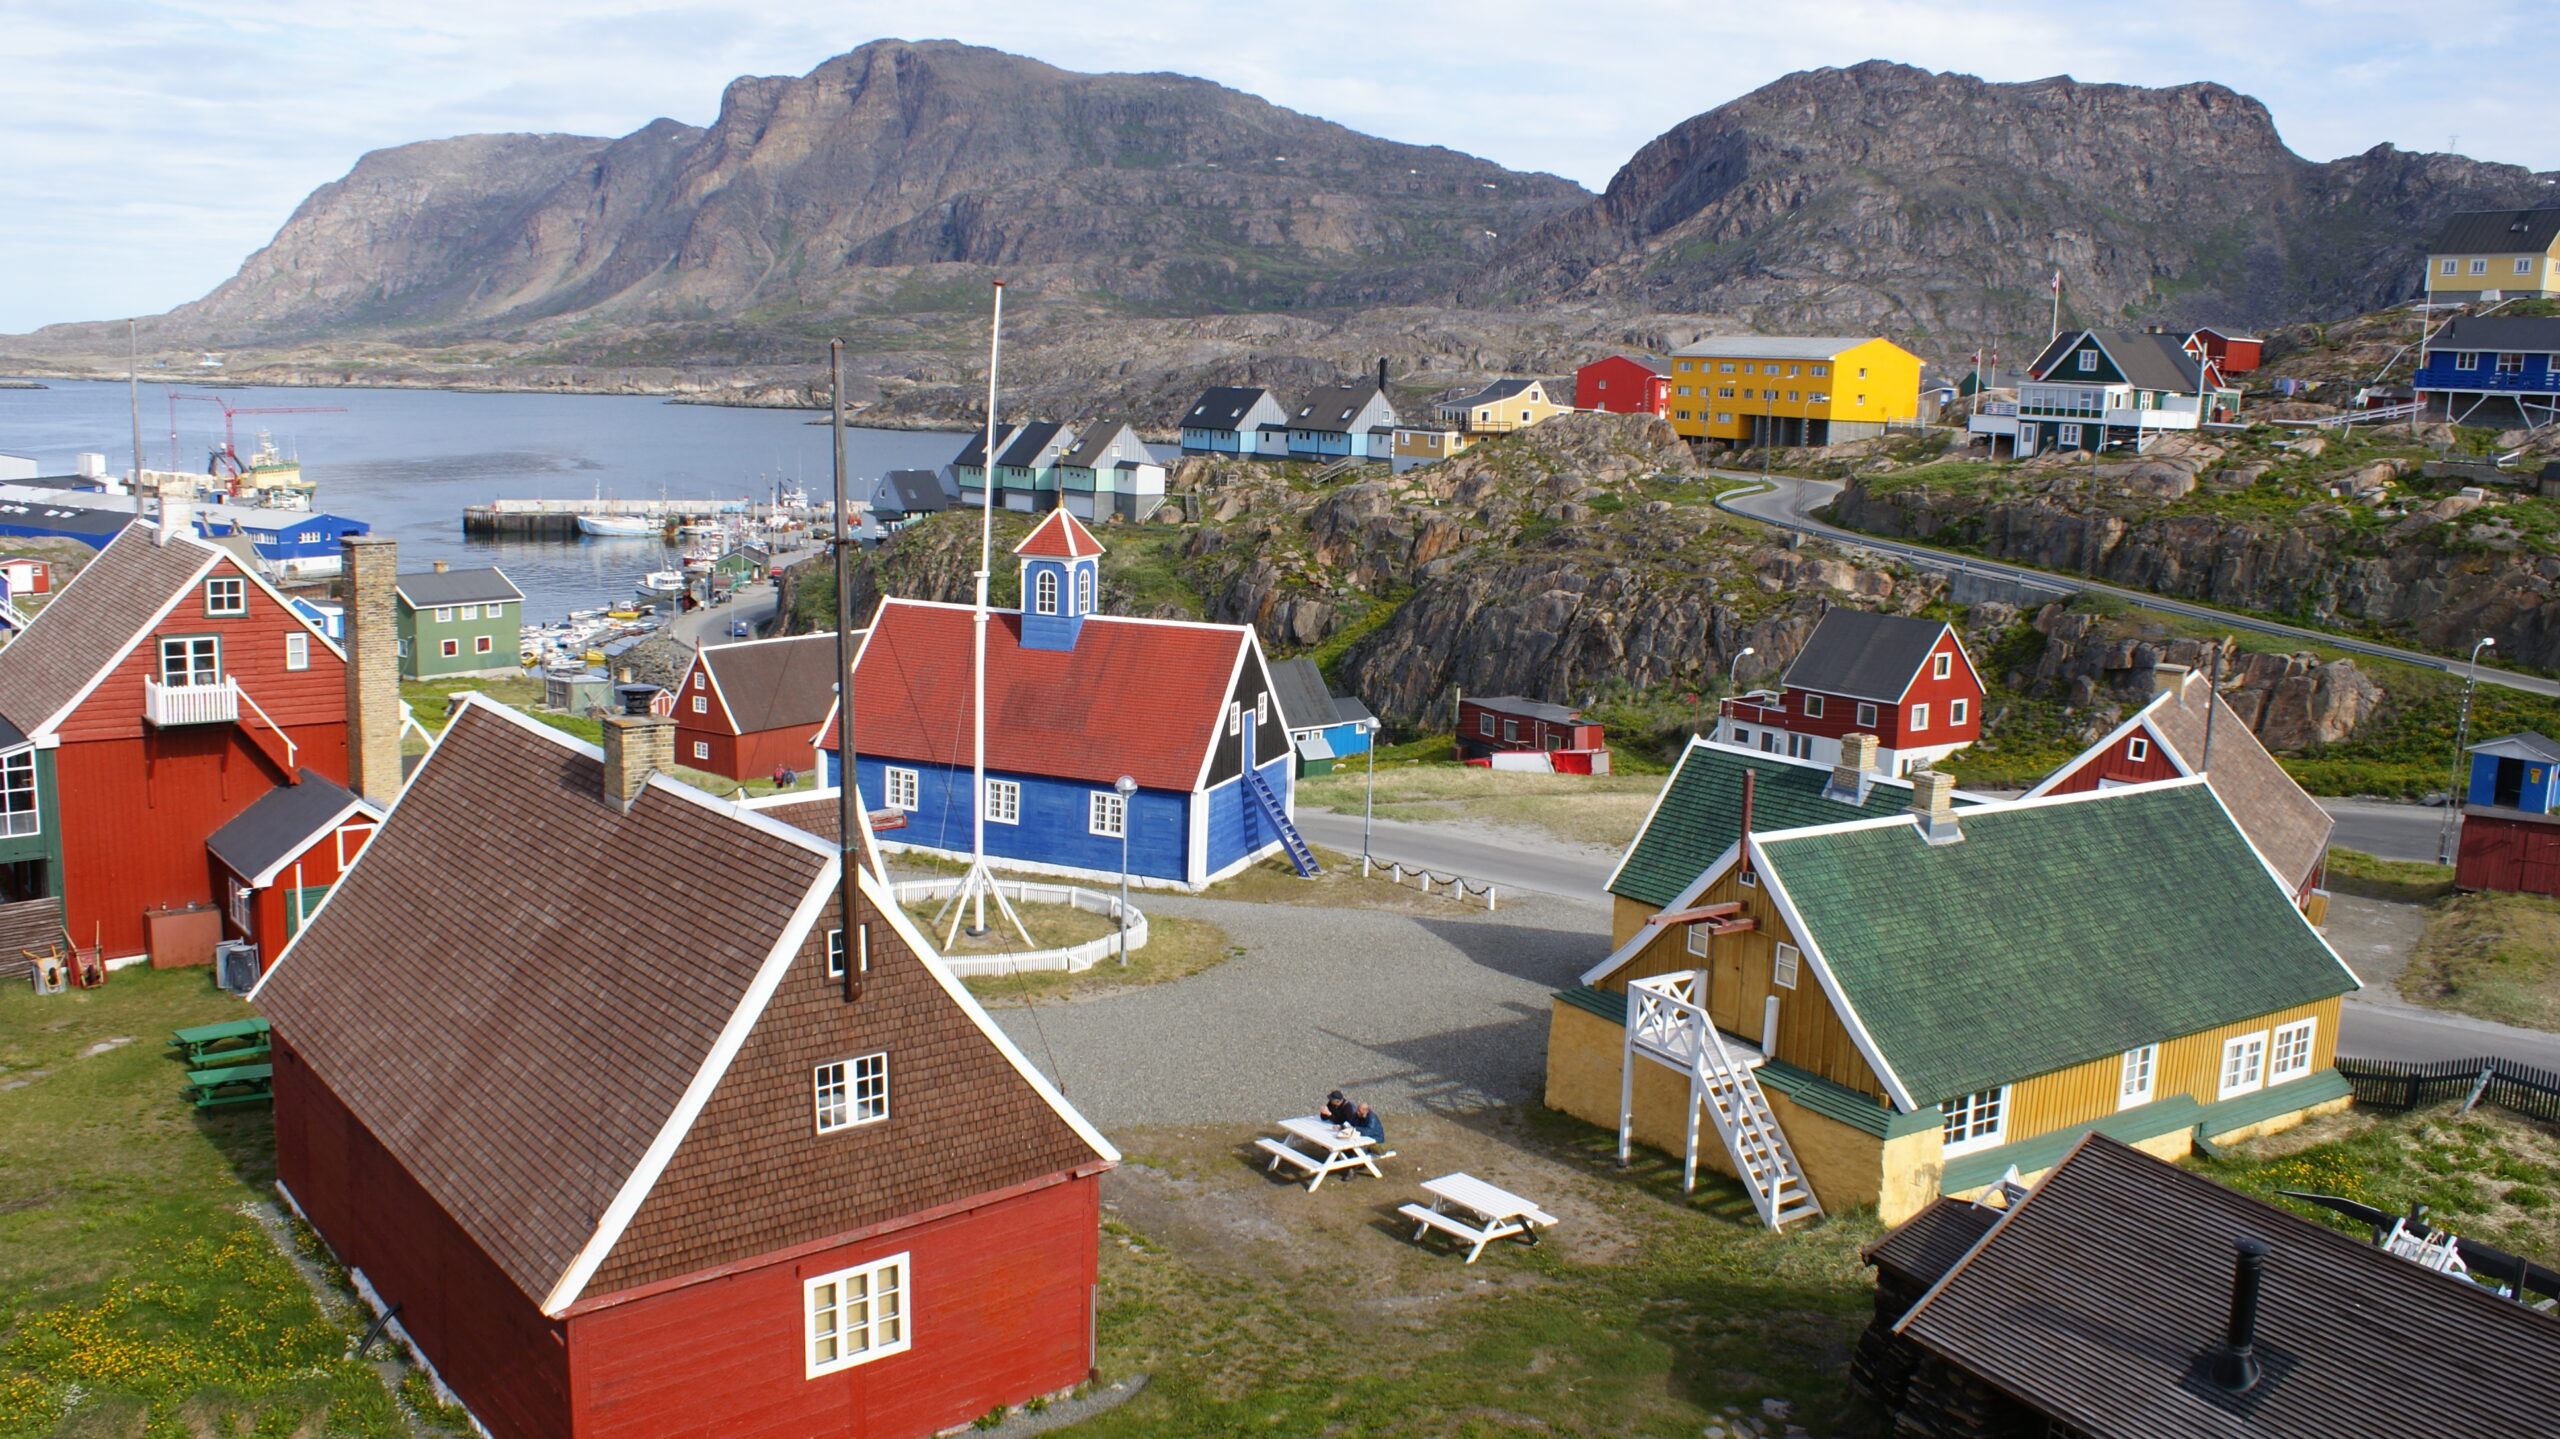
Snæfellsnes Peninsula: A Loki Travel Guide to Iceland’s Wild West
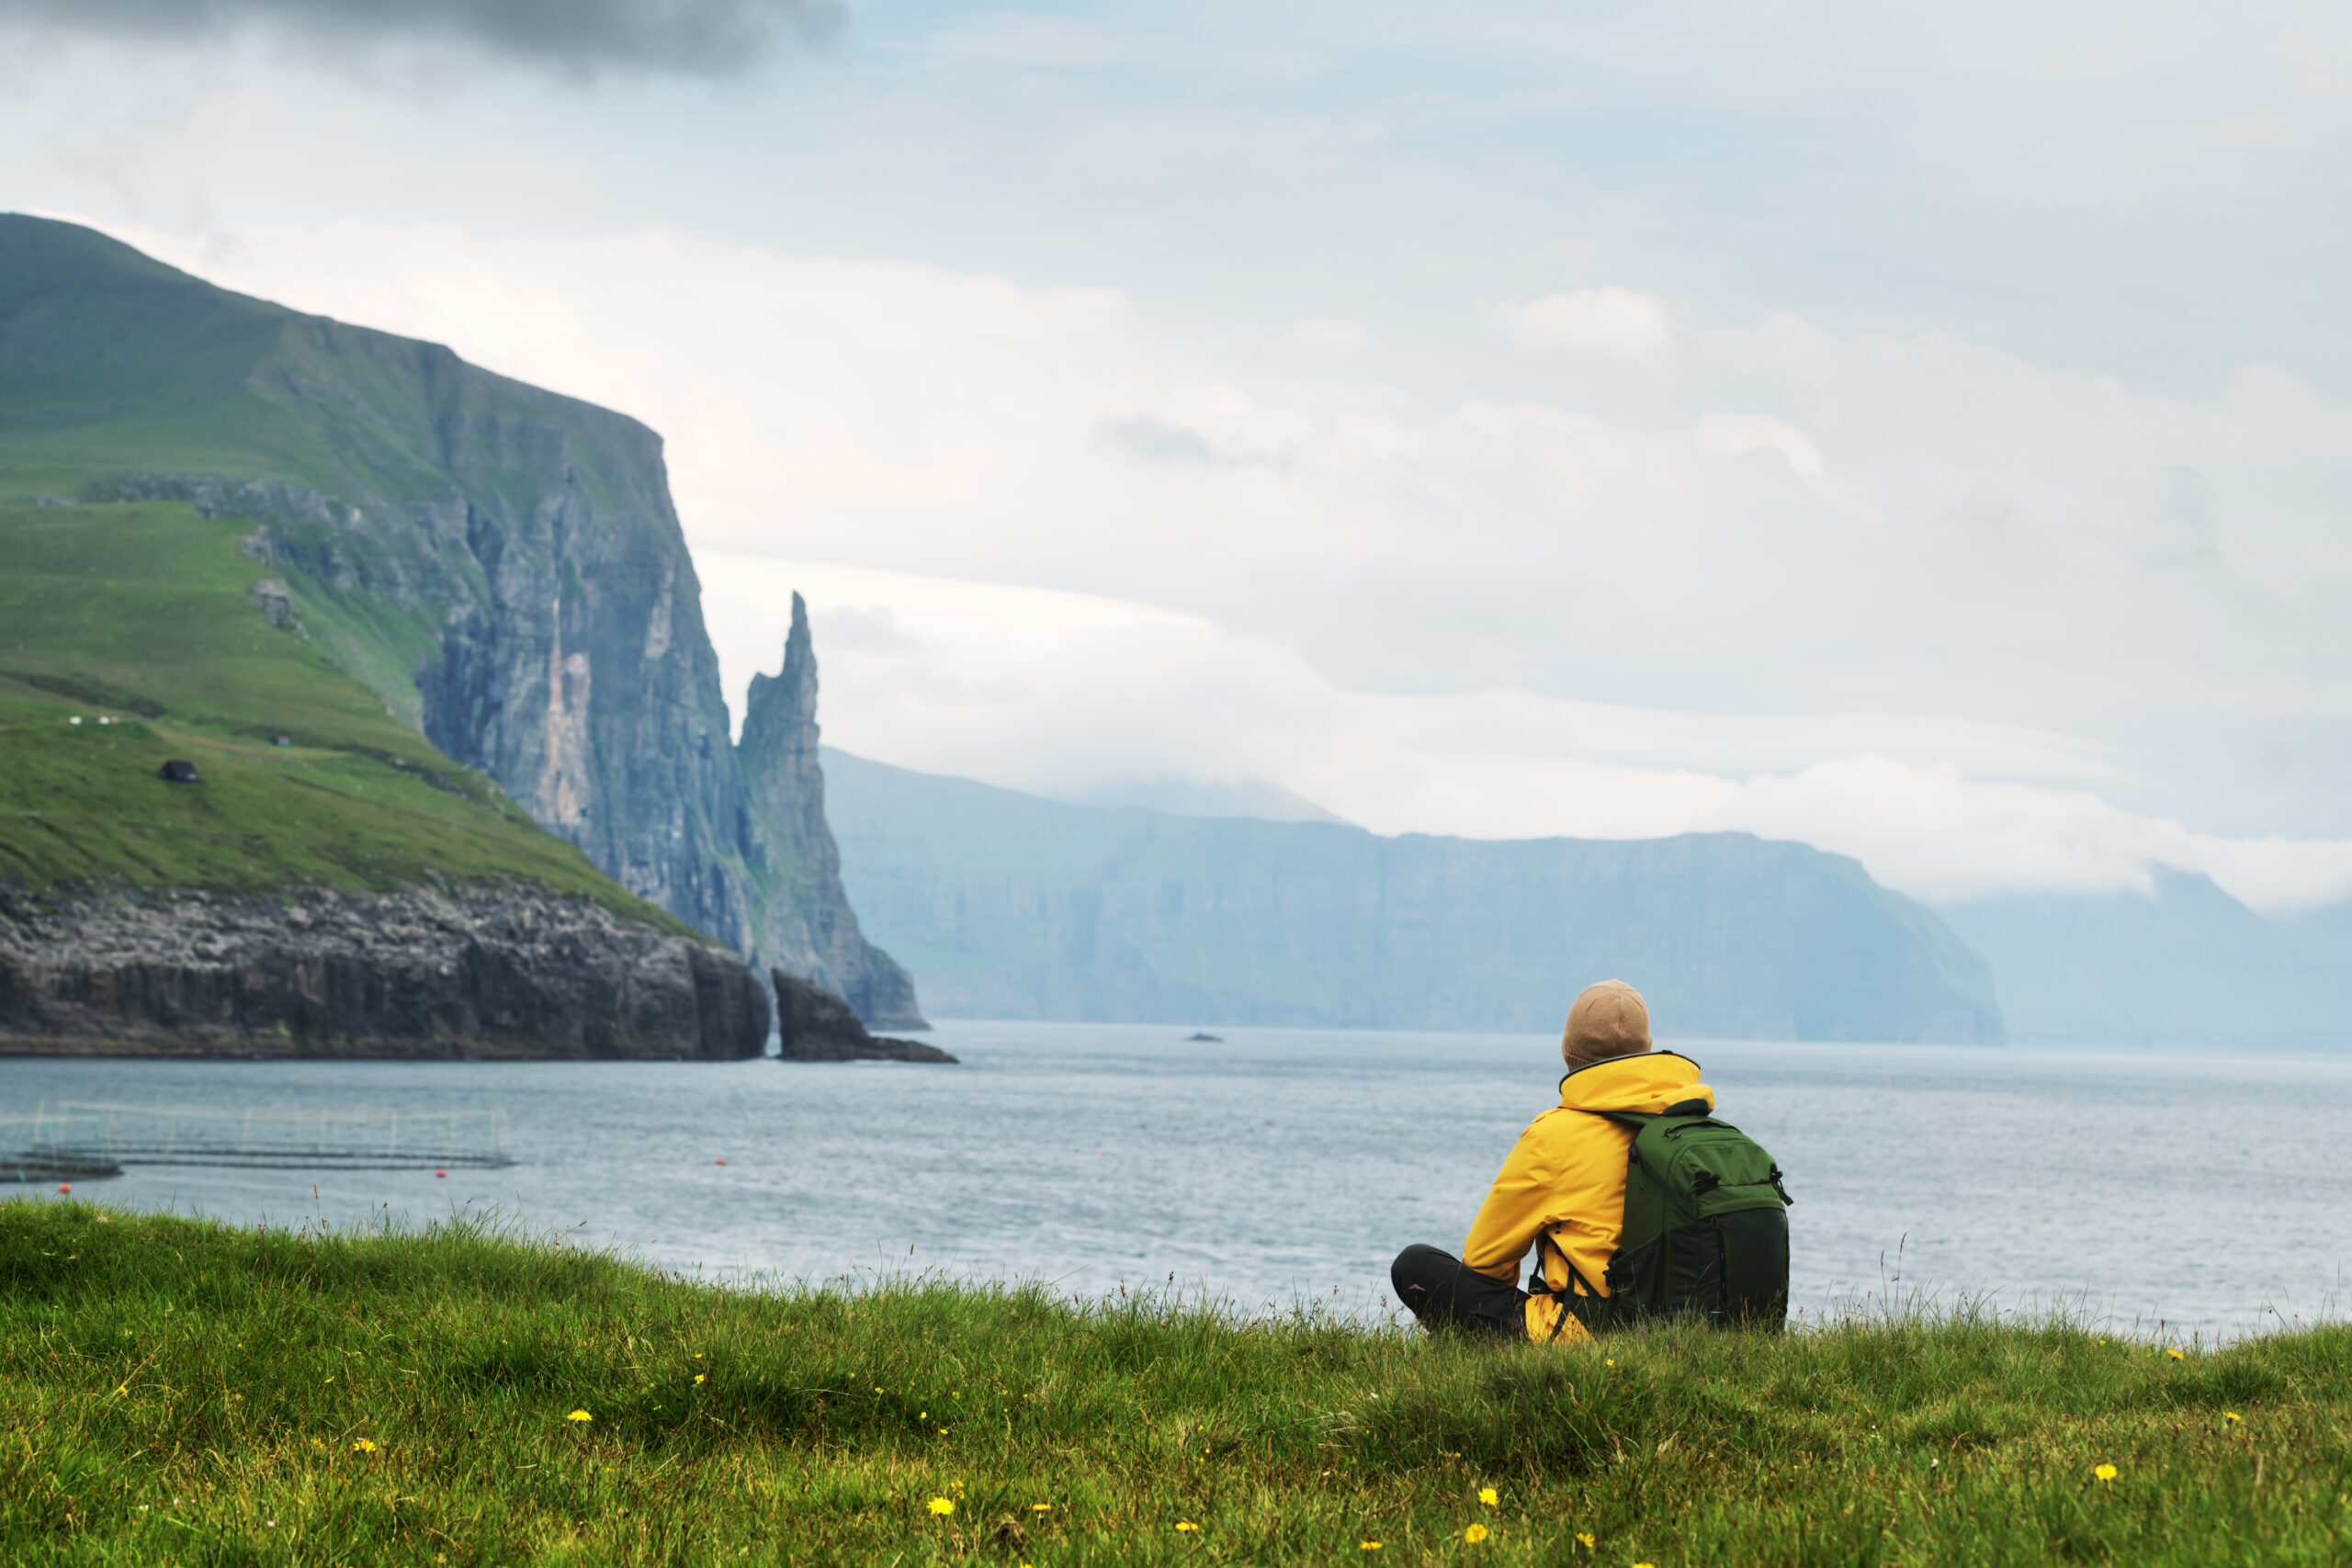
The Snæfellsnes peninsula is sometimes called Iceland in miniature, and the nickname earns its keep. In the span of a single morning you can move […]
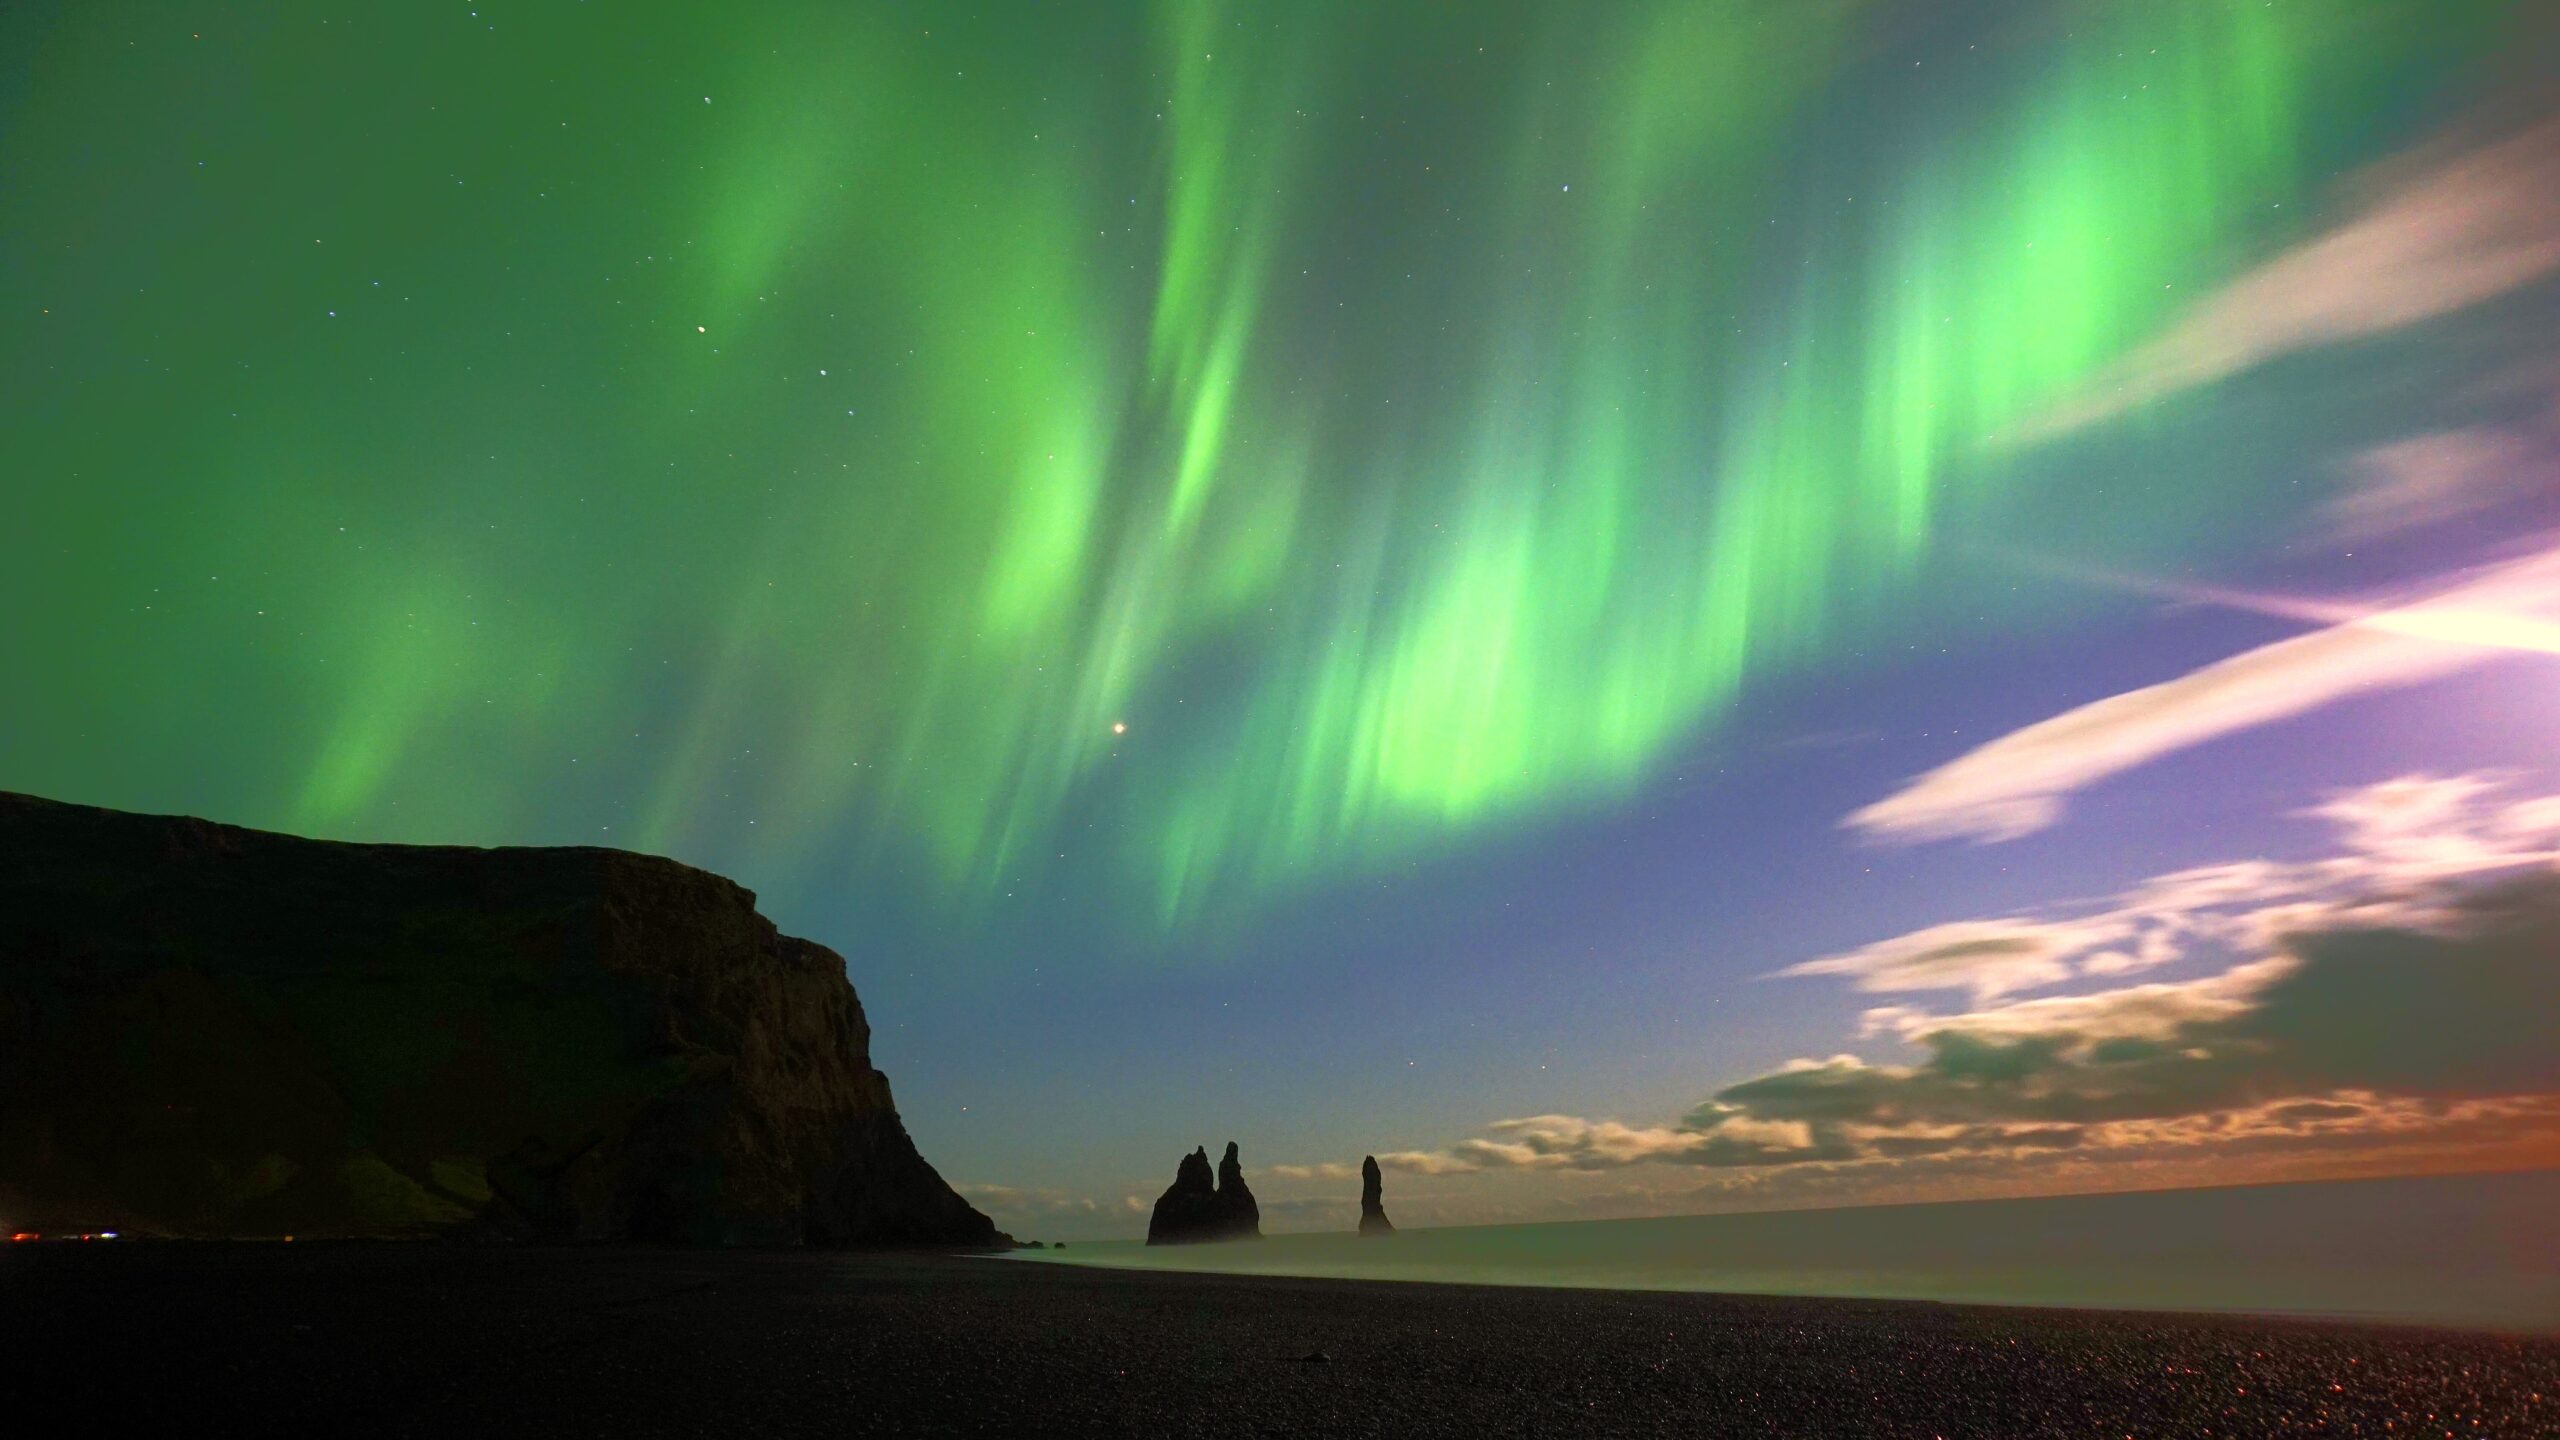
The aurora does not arrive on a schedule. It slips across the Icelandic sky on its own quiet terms, sometimes a pale ribbon, sometimes a […]
The aurora does not arrive on a schedule. It slips across the Icelandic sky on its own quiet terms, sometimes a pale ribbon, sometimes a curtain of green fire that swallows the whole horizon. Capturing it on camera is part patience, part preparation, and part faith in the forecast. This is a guide to all three. We will walk through what to wear, what to carry, how to dial in your camera, and which tools belong on your phone before you ever step outside.
This blog is for travellers coming to Iceland to chase the aurora borealis. Some of you will already know the country’s winter moods. Others will not. Read this section carefully either way, because the Icelandic winter rarely forgives the underdressed.
The weather here turns on a coin. We can move through all four seasons in a single afternoon. One moment the sky is clear, the next a 30m/sec gale is hurling snow sideways, and an hour later the rain is in and the sun is back out. The country has been called bipolar. The upside is that a foul forecast can flip in your favour just as quickly, so keep one eye on the conditions through the evening. People have died here by underestimating the cold and overestimating their clothing. Take that seriously.
Layer up far more than you think you need. Aurora photography is a stationary pursuit. You stand, you wait, you watch. The cold finds you fast when nothing is moving. A good merino wool base layer is worth every króna, worn beneath everything else. Here is a small piece of road wisdom: before you step out of the car, run the heater hard. A warm cabin to climb back into is its own quiet luxury.
Wind is the thief of warmth once you leave the city. The temperature reading on the dashboard rarely tells the full story. Pack extra clothes and leave them in the car. Dry socks and sneakers for the drive home, after wet boots, feel like a small miracle.
Bring a headlamp or a flashlight. A phone torch works in a pinch, and has carried me through plenty of hunts, but hands free is always better.
There will be snow and ice underfoot, and it will be slick. Invest in crampons. You can pick them up in the supermarkets. I once shot at Kirkjufell mountain in the middle of the night without mine and went down on my backside roughly twenty times. My camera gear survived by pure luck. Yours might not.
Your camera matters, but it is not the whole story. Most DSLRs, full frame bodies, and even a handful of point and shoot cameras can pull an aurora out of the sky. That said, full frame is the gold standard. The larger sensor lets in more light, and light is everything when the world goes dark. Bodies that punch well above their weight in low light include the Sony A7RIV, Nikon D850, Nikon D5, Canon 6D, Sony A7SII, and Sony A6300. The D850 lives in my own bag and I cannot fault it.
Reach for the widest, fastest lens you own, with the emphasis on widest. A fast lens carries a low f number. An ultra wide 10 to 20mm at f2.8 or f4 will outperform an 85mm f1.2 every single night. Width beats speed here. Ideally you find a lens that delivers both.
iPhones and other smartphones, for all their talents, are not the tool for this job.
Before we get to the recipe, let us walk through the three pillars of manual photography.
ISO measures the camera’s sensitivity to light. The scale runs from low numbers like ISO 100, representing a sensor that drinks light gently, up to ISO 6400 and beyond, where the sensor is wide awake and grabbing every photon it can find. Low ISO is for sunlit days outdoors, where light is plentiful and clarity is paramount. Too high an ISO in bright conditions and the image washes out and overexposes. Push the ISO high in dim conditions and the sensor cooperates, but the trade off is grain, or noise, creeping into the picture. For the aurora, begin around 1600 and work outward from there. Go too high and the image turns ugly and gritty.
The aperture is the opening inside the lens that controls how much light passes through to the sensor. It is measured in f stops. A small f number like f2.8 means a wide opening and lots of light. A large f number like f16 means a narrow opening and far less light. Aperture also governs depth of field, which is the range of distance in the frame that appears sharp. A wide aperture (small f number) gives a shallow depth of field, with a subject in focus and a soft blurred background. A narrow aperture (large f number) gives a deep depth of field, with foreground and background both crisp.
For aurora work, you want a small f number. Something like f1.4 or f1.8 is ideal. The wider the aperture, the lower you can keep your ISO, and the cleaner the image. A lens at f1.8 paired with ISO 1600 will look noticeably smoother than the same scene shot at f4 and ISO 3600.
Shutter speed is the length of time the shutter stays open when you take a photo, measured in seconds or fractions of a second (for example 1/4 sec, 1/60 sec, 1/250 sec, 1/500 sec). The longer the shutter stays open, the more light reaches the sensor. A fast shutter speed like 1/1000s freezes motion and is the home of sports, wildlife, and live performance photography. For the northern lights, you want the opposite: a slow shutter, often around four seconds (displayed as 4”), giving the sensor time to gather the faint light overhead.
A quick word of caution before anything else: winter driving in Iceland is its own discipline. Treat the roads with respect.
Here are the tools I keep open as tabs on my phone during a hunt, checking them through the evening as conditions shift.
The heart of aurora planning. Cloud cover, KP index, and more, all in one place. I will not pretend to understand interplanetary magnetic fields or coronal holes, so I leave the deep science to others. What this site does is distil all of it into something useful for the photographer on the ground.
Iceland’s road authority. Everything you need to know about routes, wind activity, and safe travel. Here is what you will find on the site:
If you have questions, dial 1777.
Cloud cover and a great deal more, in a beautifully accurate mobile app. A recent discovery for me, and already indispensable on my last several hunts.
Effectively Auroraforecast.is in pocket form. Highly recommended.
Once you are on location, run a few test shots. You will quickly feel out whether you need to nudge the exposure time or the ISO. Use my numbers as a starting point, then work outward until you land on a setting you love.
One last thing. Do not spend the whole evening behind the viewfinder. The aurora deserves a few unmediated minutes of attention. Let yourself look up, hands warm in your pockets, and simply take it in. Those are the memories that last longest, long after the photographs are filed away.